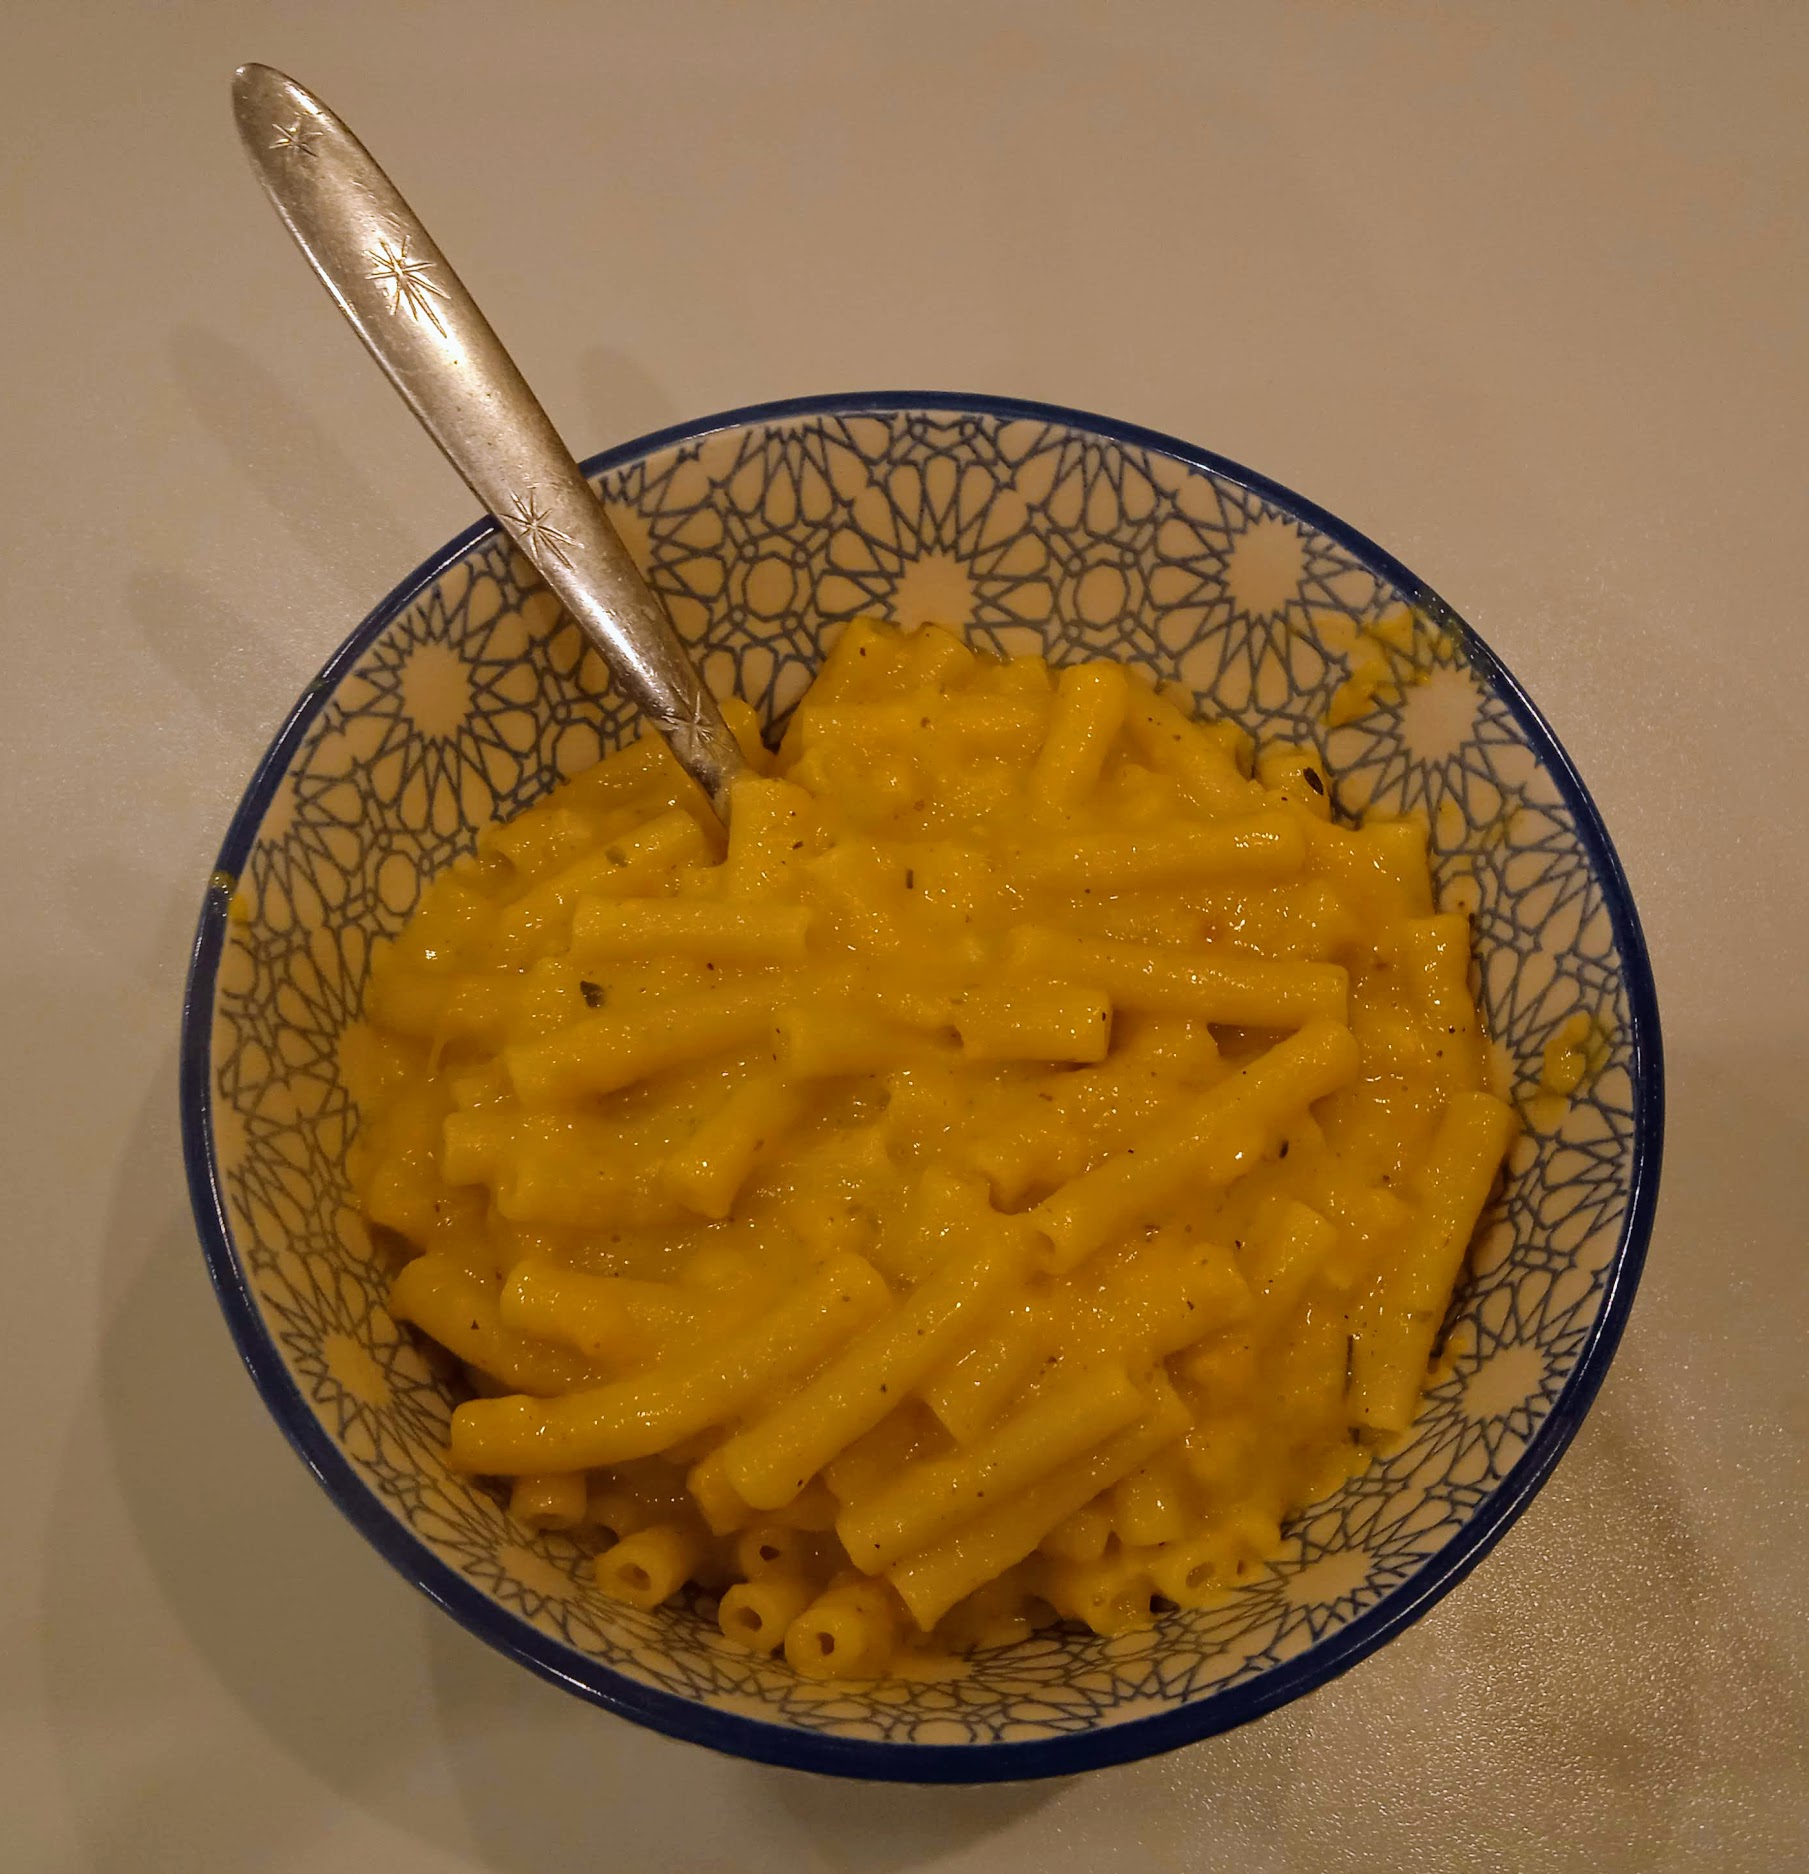
Mac and Cheese... Who doesn´t love it? Too bad you didn´t really eat something nutricious after such a meal: lots of greasy cheese and no vegetables at all! Luckily you can make the healthy version from now on! Mac with a little bit of cheese and lots and lots of pumpkin!
I can hear you think: "Pumpkin? Jikes!" That ruins the Mac&Cheese party!". But no! I wanna bet no-one will even taste the pumpkin in it!
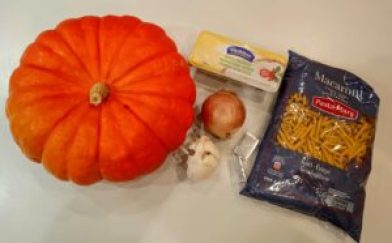
This is what you need:

- a small pumpkin (or a big one. That leaves some for delicious pumpkin soup!)
You need about 300 grams of pumpkin per person. - Macaroni (or any other kind of ´small´ pasta)
I take about 100 grams of unboiled pasta per person. - stock cubes
- 1 onion (when you make this for more than 4 people, you can use 2 onions)
- some cloves of garlic (for 3 people, I use half a bulb of garlic, but we are true garlic lovers!)
- a fleet of cream cheese like the one from Maredsous
- Spices to taste: I use ´provencal herbs´, but salt and pepper are just as good. I now realise that curry would go great with it too!
Is the pumpkin season over? Or you don´t want to do al this cuttig and cleaning and risk losing your fingers in the process? In most grocery stores, you can find pumpkin cubes in the freezer! No need to defrost first.
If you do decide to go for fresh pumpkin, then here´s the ultimate tip to not lose your fingers. Especially with big pumpkins, you need quite some muscle to cut through the pumpkin and your fingers are in quite some danger when you want to peel it. Not anymore! Put the pumkin in the oven (150°C) for about an hour. Afterward, you will be able to cut through it like through butter. Literally! Look at the movie!
The peeling also will be a lot smoother afterwards. Often, you can just pull the peel of with your fingers. Make sure you let the slices cool down a little bit first.
Look how easy that is!
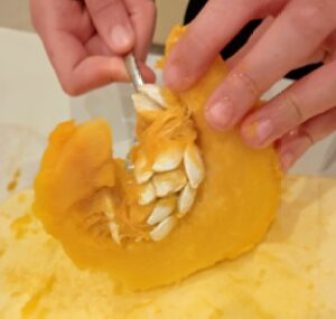
Then just scoop out the seeds and cut into little cubes.

Normally, the pumpkin has become so soft that you could let a toddler do the cutting with a regular knife. Nothing more fun than helping mommy or daddy in the kitchen!

Now the onion and the garlic. Cut these into fine pieces so you won´t have big lumbs in your dinner afterwards. It´s really easy with an onion chopper, but you could do it by hand as well.

Then melt some butter in a big cooking pot and stew the onion and garlic until it looks glazy.

The pumpkin is up next. Add it to the onions an stew for a little while.

Then add 3 to 4 cups of water. Make sure the pumpkin is completely under water.

When the water is boiling, add the stock cubes and the pasta. If the pasta is not completely covered in water, add a little more water.

Make sure the heat is not too high, but the water needs to keep boiling. Cover the pot and stir once in a while. You will see that the water will get more and more absorbed by the pasta and the pieces of pumpkin will start to fall apart.

Let it stew some more and stir regularly until the pasta is completely cooked. Still too much water after the pasta is done? Leave the lit of the pot so the water can evaporate. Stir firmly so the pumpkin falls apart.

Some stubborn pieces of pumpkin?

You can easily crush them with a fork.

We´re almost there! Is your pasta completely cooked and al the lumbs of pumpkin are gone?

Then it´s time to add the cream cheese!

Stir, stir, stir!

Taste and add some spices or herbs if needed and then it´s ready to serve!

Doesn´t that look delicious? And no pumpkin to detect!
A true cheese lover will sprinkle some grated cheese on top of this of course.
Do the kids prefer "real Mac&Cheese like the one from the store"? Then just throw the whole thing in a casserole, put some grated cheese on top of it and put in under the grill for a few minutes. It will taste so much better than the one from the grocery store!


